Baking Is a Delightful and Rewarding Hobbies That Allows You to Create Savory Treats. Whether You’re a Seasoned Baker or a Novice, Maintaining Your Baking Skills Requires That You Keep Your Baking Tools and Equipment Clean and in Excellent Condition. This article will provide the best practices for cleaning your baking tools and equipment to maintain hygiene, extend their lifespan, and improve the quality of your baked goods.
How To Clean And Store Baking Tools And Equipment?
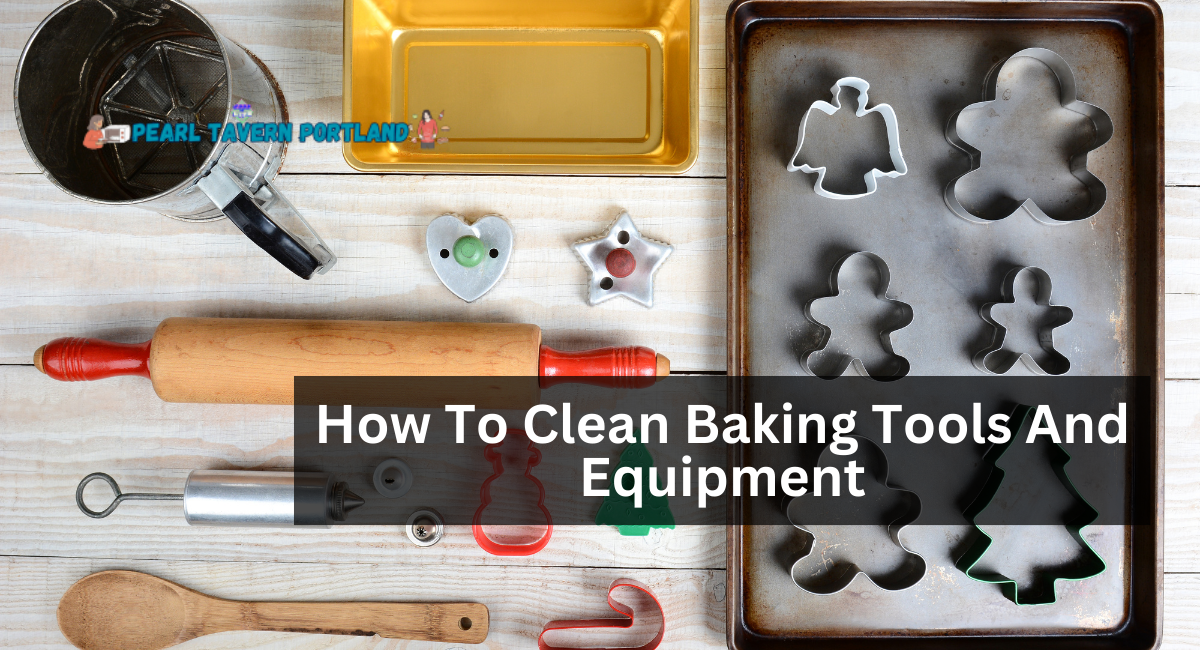
Here are some ways to clean and store baking tools and equipment:
1. Wooden Rolling Pin
Although wooden rolling pins are designed to last for decades, improper cleaning techniques frequently result in the demise of a once-perfect rolling pin. Some of the Most Common Cleaning Mistakes Include Soaking the Item in Water, Cleaning with Abrasive Scrubbers/cleaning Agents, and Washing Them Inside the Dishwasher.
So, When It’s Time to Clean Your Wooden Rolling Pin After a Baking Session, Avoid the Methods Listed Above and Follow the Methods Listed Below:
- In a pot, bring water to a temperature that is hot enough to touch but not scalding.
- Soak a Clean Dish Towel in Water and Wring It Out So It Is Just Damp.
- Utilize the Cloth to Cleanse the Rolling Pin Thoroughly. The cloth’s warmth will aid in removing dried dough and grease.
- If the Rolling Pin Needs a Thorough Cleaning or Scrubbing, Use Mild Dish Soap, Warm Water, and a Soft, Non-Abrasive Scrubber to Clean It. After that, rinse it thoroughly.
- Regardless of Whether You Wipe the Rolling Pin with a Damp Cloth or Wash It with Soapy Water, You Should Complete Either Cleaning Method by Wiping the Wood with a Dry Towel and Allowing the Damp Rolling Pin to Air-Dry Before Storing.
2. Clean Pastry Brushes
Also, if you are a more advanced baker, you may have a variety of pastry brushes made from various materials/fibers. While they are extremely useful in baking, they accumulate a great deal of oil that is difficult to remove. Therefore, when cleaning your pastry brushes, you must be patient and use proper cleaning techniques.
Take a Look at This Proven Method for Cleaning Nylon and Silicone Pastry Brushes:
- In a Large Bowl or Basin, Make a Hot, Soapy Solution and Soak the Pastry Brushes in It Until the Water Begins to Cool Down. This Will Help Melt Off Some Oil/Butter/Grease.
- Discard the Water, Rinse Out the Bowl, and Refill It with a New (Hot) Soapy Solution. Soak the Brushes in this manner multiple times until the bristles become less greasy.
- Add a Few Drops of Dishwashing Liquid to the Bristles, if Necessary, and Massage the Detergent into the Bristles.
- Remove all traces of soap from the Brush by rinsing it under running Water. The best way to determine whether the dishwashing liquid has been removed is to swirl the Brush in a bowl of Water and then look for bubbles or observe whether the Water has turned soapy.
- Once Pastry Brushes Have Been Cleaned, Shake Off Excess Water and Blot Them With a Clean, Dry Towel. Before Storing, let them dry completely in a sleeping position on a towel.
Nonstick Muffin Pan
It may seem contradictory, but if you have ever baked in a nonstick muffin tin, you know that sticking is inevitable! Consequently, nonstick muffin tins are much simpler to clean than stainless steel or aluminum pans.
Here is what you must do to clean a soiled nonstick muffin pan:
- 2 teaspoons of baking soda should be dissolved in 1 liter of Water. Use this solution to fill 3/4 of the muffin tin.
- Bake the Muffin Tray for 15 to 20 minutes in a preheated oven (350 degrees Fahrenheit).
- Remove the Cookware and Allow It to Cool.
- Once Cool, Discard the Baking Soda Solution and Clean the Muffin Pan with a Sponge and Liquid Dish Soap. Use a Bench Scraper, if Necessary, to Remove Resistant Grease from the Tray’s Top.
- After scrubbing the pan, give it a thorough rinsing under running Water.
- Then, store after drying with a clean towel.
Baking Sheets
When a stainless steel baking sheet cools, most grease and spills have dried and adhered to its surface. Moreover, the corners typically accumulate cooked/burnt batter, which is difficult to remove from such a confined space. Fortunately, the cleaning method simplifies the entire process.
These Steps Will Help You Clean Your Baking Sheet with Baking Soda and Vinegar:
- Fill the kitchen sink with hot water and plug it in. Before proceeding, ensure that your sink is clean.
- Add a half-cup of white distilled vinegar and two to three tablespoons of baking soda. To combine the ingredients, give the Water a quick stir.
- Soak the baking sheet in this solution for at least one hour. Thirty minutes of soaking time is sufficient if it is not excessively greasy.
- Next, scrub the baking sheet with a cleaning brush or kitchen scrubber to eliminate food residue.
- Remove Debris from the Corners with a Toothpick or a Clean Paintbrush.
- Finally, rinse the baking sheets thoroughly and allow them to dry in the air.
If there is a lingering odor that you wish to eliminate, simply wash the baking sheet with Water and dish soap after applying the baking soda and vinegar solution.
Cookie Cutters
Cookie cutters have evolved from simple shapes to intricate patterns. However, this has made cleaning them somewhat more challenging. Due to Their Tight Corners and Numerous Crevices, Cookie Dough Gets Stuck in These Extremely Difficult-to-Reach Nooks and Crannies, Requiring a Self-Cleaning Method to Thoroughly Clean the Cookie Cutters.
Use These Straightforward Steps to Clean Metal and Copper Cookie Cutters:
- Soak the Dirty Cookie Cutter Shapes in a Hot Soapy Solution. For this, grease-fighting dish detergent is suggested.
- Give the cookie cutters 10 to 20 minutes to soak. The grease and dough embedded in crevices will loosen during this time; therefore, the longer you soak them, the better.
- Utilize a Thin Paintbrush to Clean the Corners and Crevices of the Pieces.
- Rinse each cookie cutter thoroughly under running water to conclude.
- To Dry Your Cookie Cutters Rapidly So They Can Be Stored Without the Risk of Mould/Mildew Forming on Them, Place them on an oven-safe baking sheet made of stainless steel. Heat for 1-2 Minutes at 350 Degrees Fahrenheit.
- After the cookie cutters have cooled, store them on the baking sheet.
Baking Stone
If you enjoy making homemade pizza, you’ll need a baking stone, and if you want to continue making delicious pizzas, you’ll need to learn how to clean your baking stone! The Good News Is That It Is Much Easier Than You Might Believe (Even When Dealing with Stuck-On Grease and Pizza Crumbs).
Examine This Straightforward Step-by-Step Guide to Cleaning a Baking Stone:
- Utilize a Paper Towel to Quickly Wipe Away Any Food Crumbs That Have Become Loose.
- Pour warm water over the Stone and let it sit for a minute to moisten the surface.
- Next, take a bench scraper and gently scrape away the brittle debris (which should now be wet and loose).
- Coat the Stone with a Baking Soda and Water Paste, and Let It Stand for at Least 15 Minutes. This Will Assist in Eliminating the Grime and Grease.
- Utilize a Clean Bench Scraper to Remove the Paste.
- Thoroughly Rinse the Surface with Warm Water, Preferably.
- Wipe the Baking Stone with a Towel, then store it when it is dry.
Thanks for visiting our site hope you like it ..